


Modern mobile applications can contain many screens or routes and navigating between the pages sets the workflow of the application. Because of navigation, a user can navigate from their home screen to another. Handling the navigation is known as routing.
Flutter provides a routing class using which we can set up navigation in our app. But using the navigation directly into the code is not advisable you need to abstract the navigation from the UI. Later in this article, we will see how to achieve it.
Let's jump to the code and start exploring navigation in a flutter.
What we will cover
Initial Setup
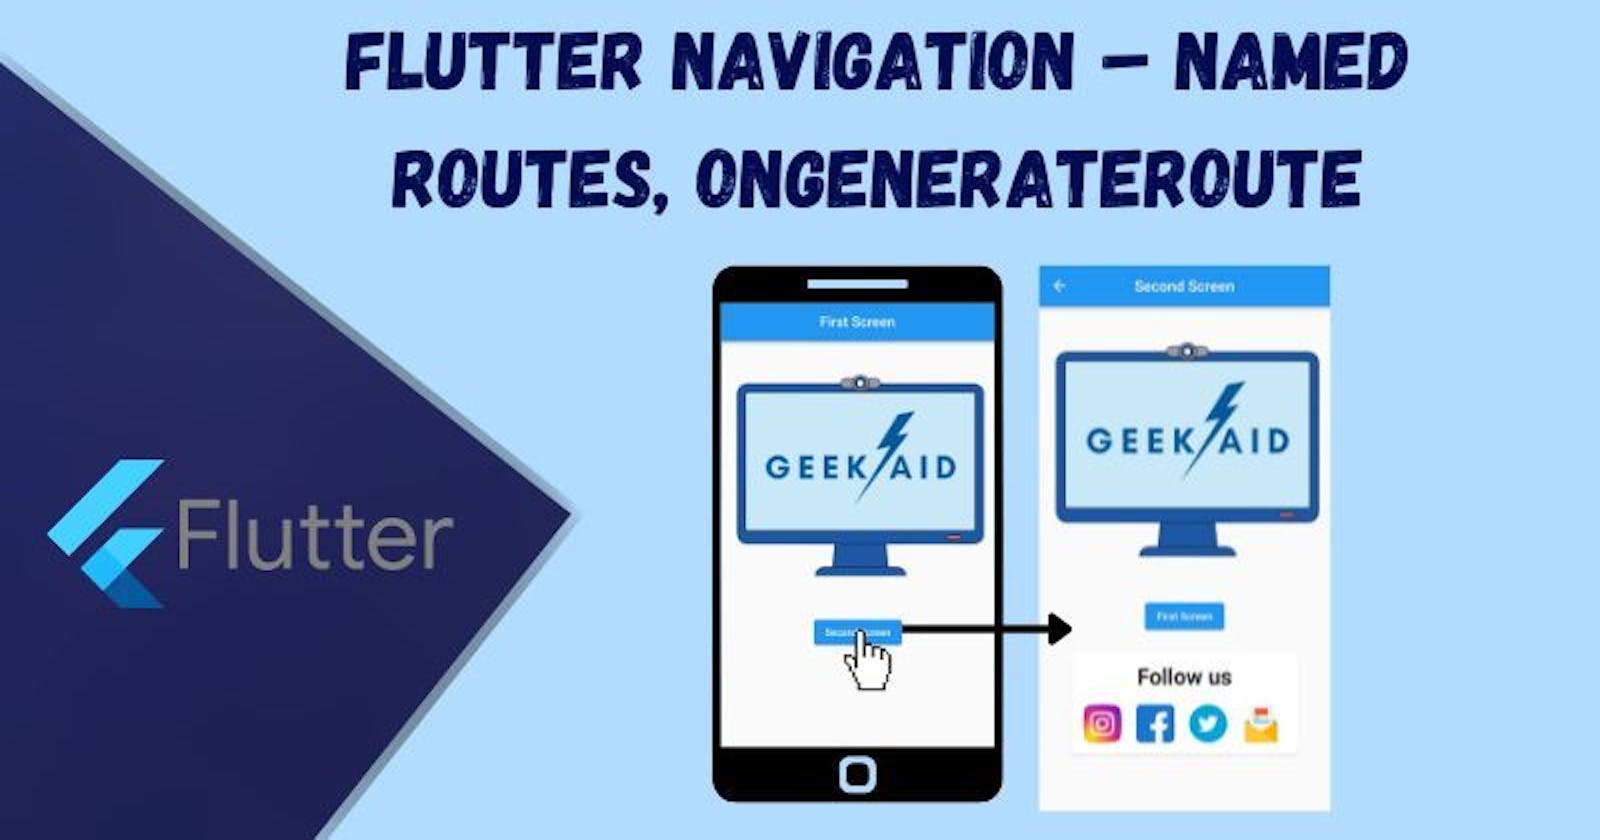
To demonstrate how navigation works, First, we need some screens.
So, I have created a project that contains two widgets named FirstScreen and SecondScreen, these widgets will work as screens. For the sake of simplicity, both widgets are created in the main.lib itself.
The second screen requires a string parameter that you have to pass while routing to it.
import 'package:flutter/material.dart';

void main() {
  runApp(const MyApp());
}

class MyApp extends StatelessWidget {
  const MyApp({super.key});

  @override
  Widget build(BuildContext context) {
    return MaterialApp(
      title: 'Flutter Demo',
      theme: ThemeData(
        primarySwatch: Colors.blue,
      ),
      home: const FirstScreen(),
    );
  }
}

class FirstScreen extends StatelessWidget {
  const FirstScreen({super.key});

  @override
  Widget build(BuildContext context) {
    return Scaffold(
      appBar: AppBar(
        title: const Text("First Screen"),
        centerTitle: true,
      ),
      body: Center(
        child: ElevatedButton(
          onPressed: () {
            // Contains the code that helps us
            // navigate to the second route.
          },
          child: const Text(
            "Second Screen",
          ),
        ),
      ),
    );
  }
}

class SecondScreen extends StatelessWidget {
  final String args;

  const SecondScreen({
    super.key,
    required this.args,
  });

  @override
  Widget build(BuildContext context) {
    return Scaffold(
      appBar: AppBar(
        title: const Text("Second Screen"),
        centerTitle: true,
      ),
      body: Center(
        child: Column(
          mainAxisAlignment: MainAxisAlignment.center,
          children: [
            Text(
              args,
              style: const TextStyle(fontWeight: FontWeight.bold, fontSize: 30),
            ),
            ElevatedButton(
              onPressed: () {
                // Contains the code that helps us
                //  navigate to first route.
              },
              child: const Text(
                "Second Screen",
              ),
            ),
          ],
        ),
      ),
    );
  }
}
This is how the main.lib looks like we will add code in the onPressed arguments of the buttons in both the screen that will handle the navigation.
Navigator
As the name suggests navigator is a class in Flutter that help us to navigate between routes. The navigator uses a stack data structure to keep track of the routes. Based on user interaction with the app, the routes are pushed or popped from the stack.
Navigating to a route
We have declared our screens and we just need the logic that will navigate us from one route to another.
To navigate to a new route we will use Navigator.of(context).push(), this method will push the new route in the stack hence displaying the pushed screen.
onPressed: () {
  // Add this in onPressed argument of ElevatedButton in FirstScreen

  Navigator.of(context).push(
    MaterialPageRoute(
      builder: (context) => const SecondScreen(args: "Geek Aid")));
},
we pushed the SecondScreen in the stack with a string argument "Geek Aid".
Returning to the previous route
Now we have navigated to our desired route, but what if you need to go back to the previous route?
For this, we can use the Navigator.of(context).pop() method, which will remove the top route from the navigator stack, resulting in going back to the previous screen.
 onPressed: () {
  // Add this in onPressed argument of ElevatedButton in SecondScreen

  Navigator.of(context).pop();
},
Using Named Routes with onRouteGenrate
The above-demonstrated way will work for small apps and your mini-side projects, but as your project size grows it will lead to many issues.
Directly using the navigator to navigate between the routes in a big will lead to code duplication and become hard to maintain, to resolve the problem we can follow the principle of separation of concern.
To abstract our navigation logic we will create a class name RouteGerator.
import 'package:flutter/material.dart';
import 'package:flutter_routes/main.dart';

class RouteGenerator {
  static Route<dynamic> generateRoute(RouteSettings settings) {
    // Getting arguments passed in while calling Navigator.pushNamed
    final args = settings.arguments;
    switch (settings.name) {
      case '/':
        return MaterialPageRoute(builder: (_) => const FirstScreen());

      case '/second':
        if (args is String) {
          return MaterialPageRoute(builder: (_) => SecondScreen(args: args));
        }

        // If args is not of the correct type, return an error page.
        // You can also handle this by throwing an error.
        return _errorRoute();

      // If there is no such named route in the switch statement
      //e.g. /geekaid
      default:
        return _errorRoute();
    }
  }

  // error screen
  static Route<dynamic> _errorRoute() {
    return MaterialPageRoute(builder: (_) {
      return Scaffold(
        appBar: AppBar(
          title: const Text('Error'),
          centerTitle: true,
        ),
        body: const Center(
          child: Text(
            'Error ! Something went wrong',
            style: TextStyle(color: Colors.red, fontSize: 18.0),
          ),
        ),
      );
    });
  }
}
This is what the RouteGenerator class looks like, we use a switch here to push the appropriate screen to the stack. Using the RouteGenerator class we have moved our navigation logic to one place.
Now it's time to update our MaterialApp to start using this class and replace all the existing navigation with a navigator to push named routes.
class MyApp extends StatelessWidget {
  const MyApp({super.key});

  @override
  Widget build(BuildContext context) {
    return MaterialApp(
      ...
      home: const FirstScreen(), // remove this
      initialRoute: '/',  // Add this
      onGenerateRoute: RouteGenerator.generateRoute,
    );
  }
}

class FirstScreen extends StatelessWidget {
  const FirstScreen({super.key});

  @override
  Widget build(BuildContext context) {
    return Scaffold(
      ...
      body: Center(
        child: ElevatedButton(
          onPressed: () {
   //Replace existing Naigator.push() with Navigator.pushNamed()

            Navigator.of(context).pushNamed('second' ,arguments: 'Geek Aid');
          },
          child: const Text(
            "Second Screen",
          ),
        ),
      ),
    );
  }
}
Conclusion
You have learned how to navigate between routes in your Flutter application. You have learned to encapsulate all of your routing logic and resulting in no code duplication issues.
You have learned how to manage navigation in larger apps using the onGenerateRoutes. See this is the best approach that Flutter provides to handle navigation. Don't think it's too complicated give it a try and things will start making sense to you.
I hope this article will help you to learn how to handle routes in your Flutter app.
If I got something wrong, Inform me on my social media accounts and feel free to contact me and help me to correct it, I would love to improve and rectify my mistake.
❤️❤️ Thanks for reading this article ❤️❤️