

How to set up your flutter development environment


“For the best return on your money, pour your purse into your head”
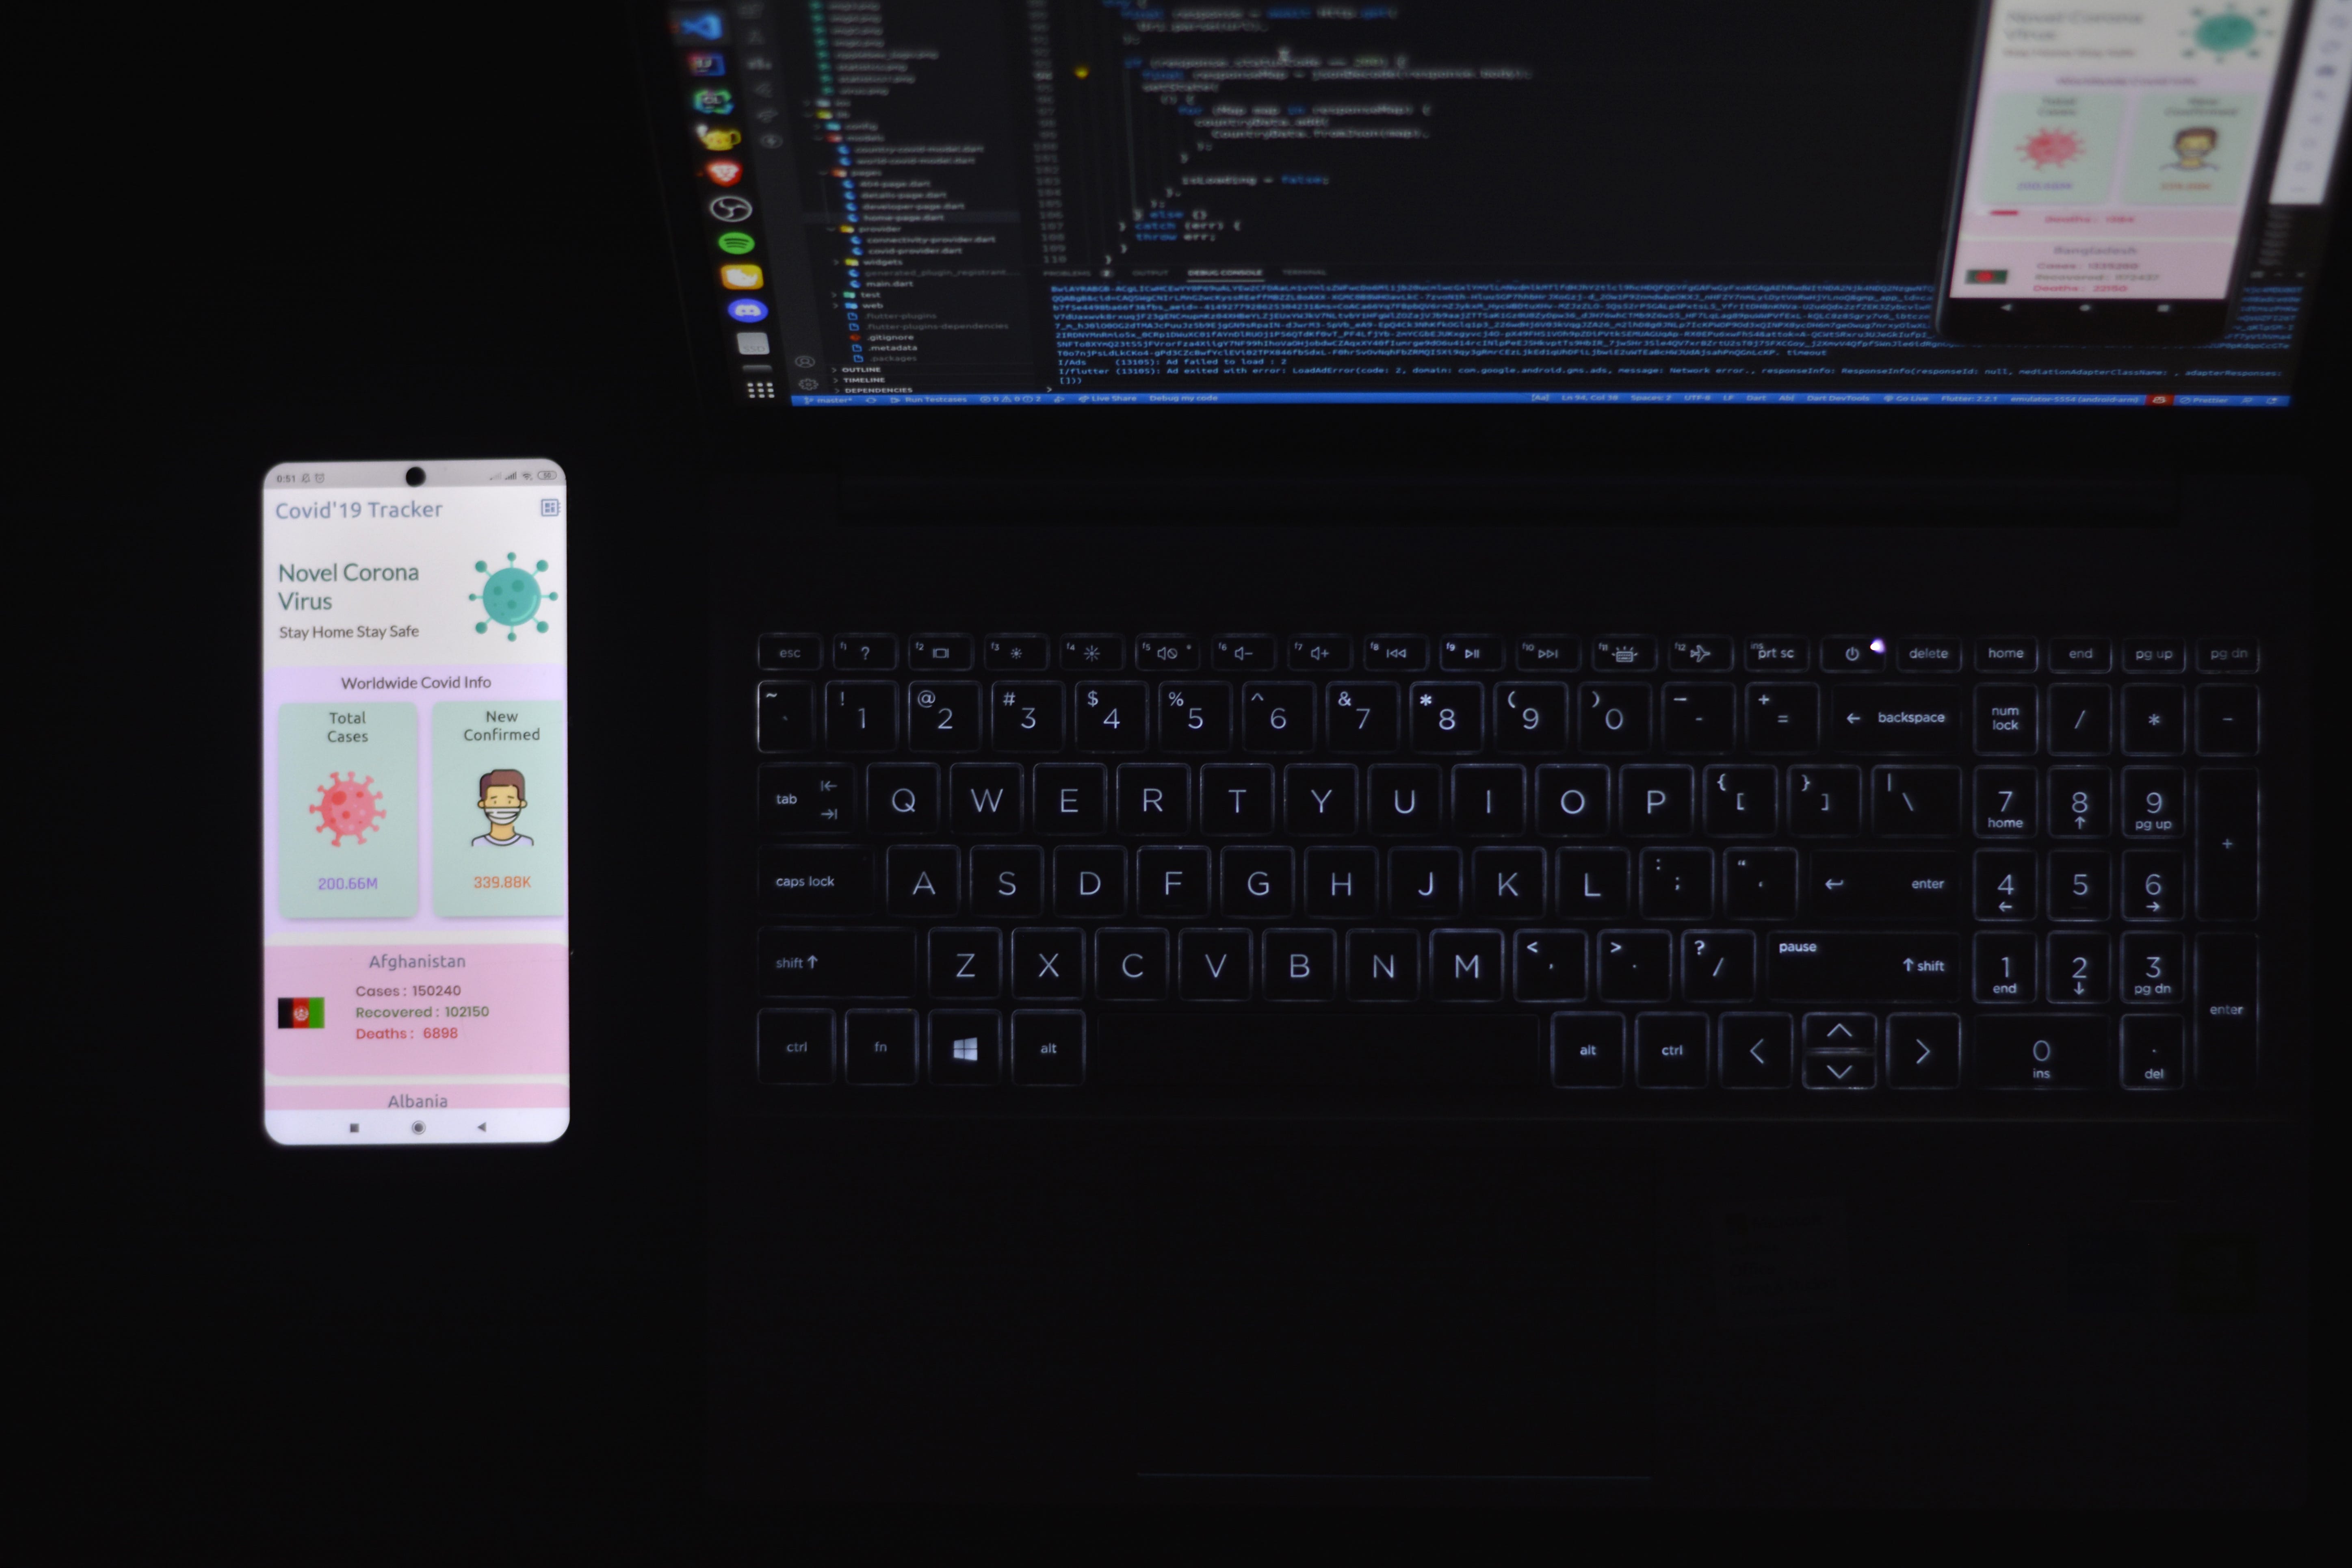
Hurry! now you have decided to learn flutter and it will be a good decision. Your journey will be full of hurdles but the whole community and I are here to help you out so relax.
The first hurdle you are facing is how to set up your development environment, Let’s get started.
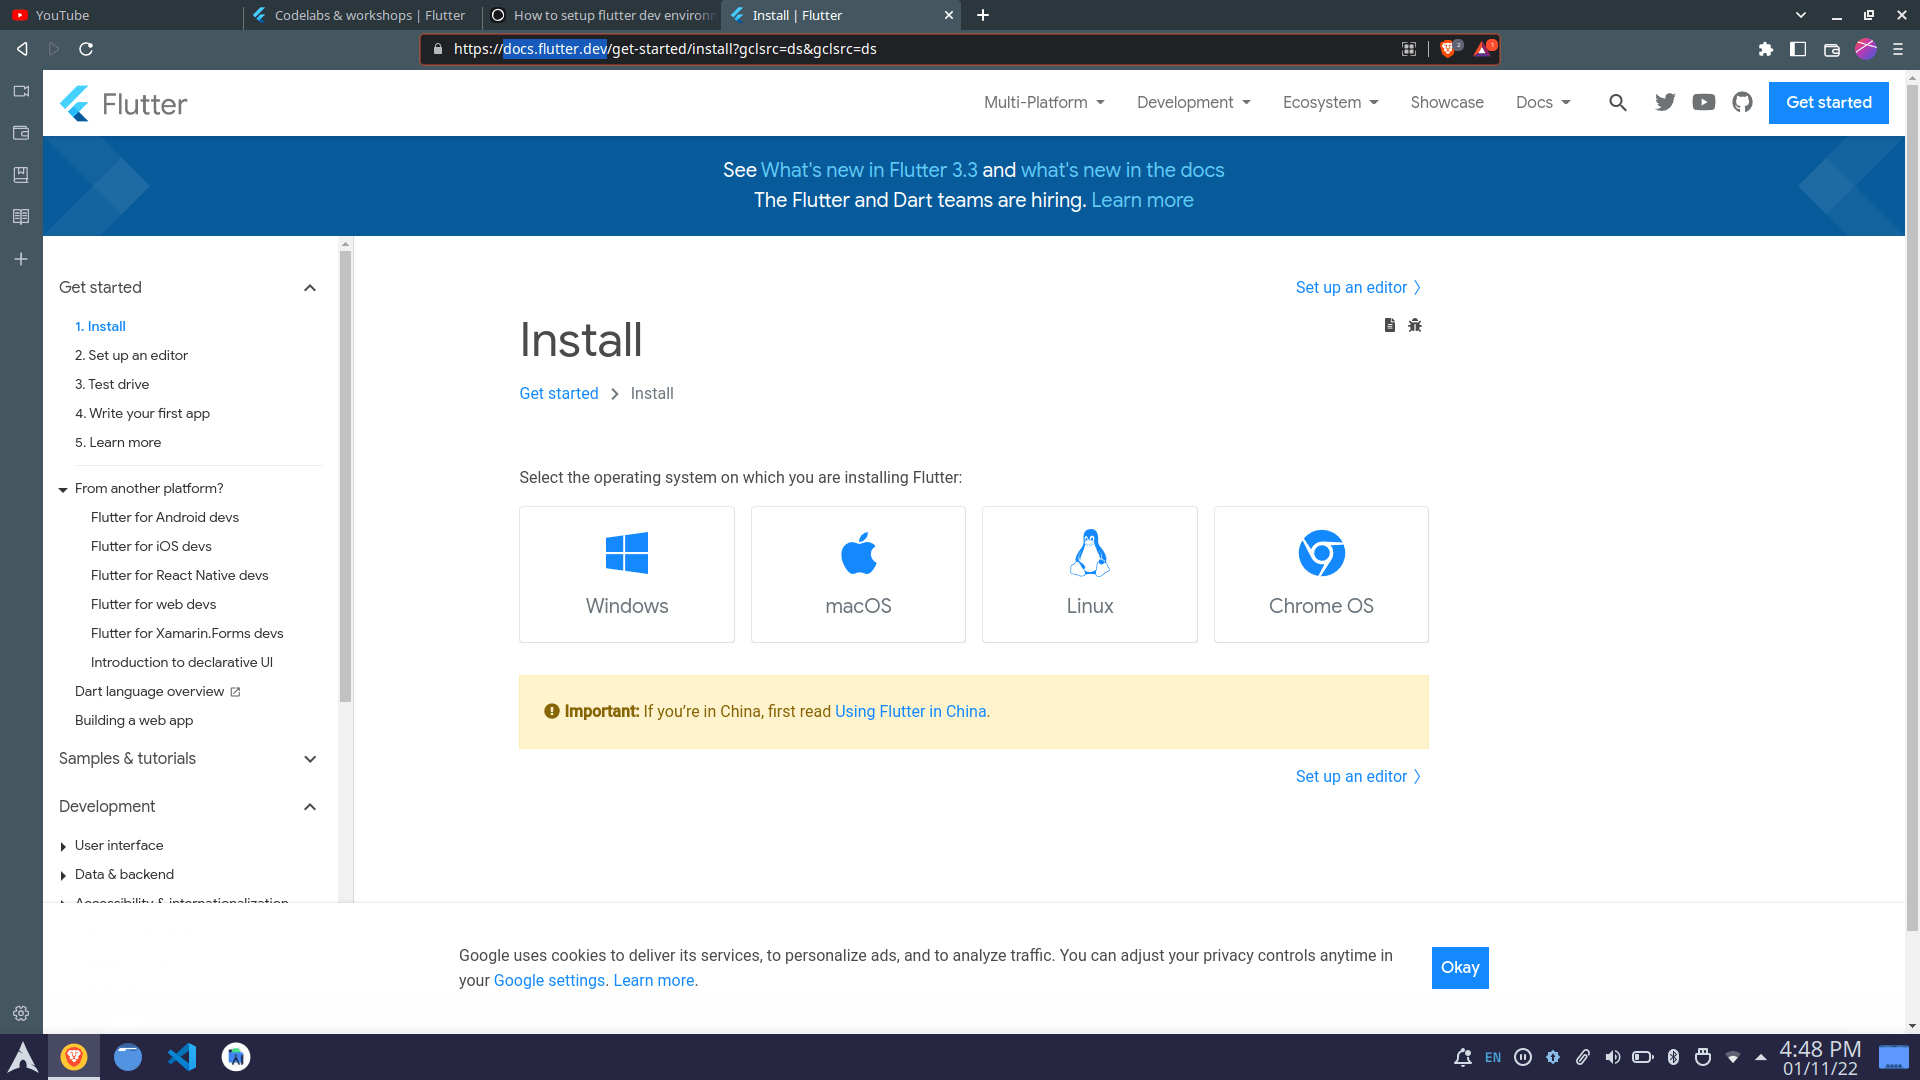
Open docs.flutter.dev and select your operating system. I will be giving general steps here to install flutter, the documentation is very clear and I will address the common issue you will face.
#1. Download and install Android Studio
You will need an IDE to write code you can choose some other IDE but google recommends android studio and we will also install it.
To download android studio visit developer.android.com.
The installation is pretty simple to open the installer and give it the required permission to read the term and conditions which no one does.
Allow android studio to download the latest SDK and some other files for its smooth functioning.
#2. Download flutter SDK
For windows and mac users you can either download the zip file or clone the stable version from GitHub.
Linux users can use snap to install or else apt repository.
#3. Add the path
The next step is to add a flutter/bin path to the global variables so that you can use the flutter cmd globally.
Windows:-
Open the start menu and type env from the results select Edit environment variables for your account.
Click on add new path and paste the path flutter/bin append the path before this if exists.
Mac:-
Extract the file to the desired location.
example:
$ cd ~/geekAid $ unzip ~/Downloads/flutter_macos_3.3.6-stable.zip
Add flutter to your path, open the terminal at the install location and paste this cmd.
$ export PATH="$PATH:pwd/flutter/bin"
To add flutter to your path refer to this.
Linux:-
$ https://docs.flutter.dev/get-started/install/macos#update-your-path
If you have used snap to install flutter then you are good to go. You can use the cmd given below to check the flutter path.
You can also add the flutter path to the terminal temporarily, but I just go ahead and add it permanently.
You can refer to this article to add flutter to your path refer it.
#4. Run flutter doctor
To check the flutter installation is done properly and that there are no issues present open the terminal and write the cmd “ flutter doctor” and hit enter.
$ flutter doctor
If you got all the green flags then you are good to go.
But this will not be the case for many of you. Here I will discuss the most common issue here.
Flutter SDK not found in the specified location
You can install it from Android Studio.
Menu > Tools > SDK Manager > Android SDK > SDK Tools (tab)
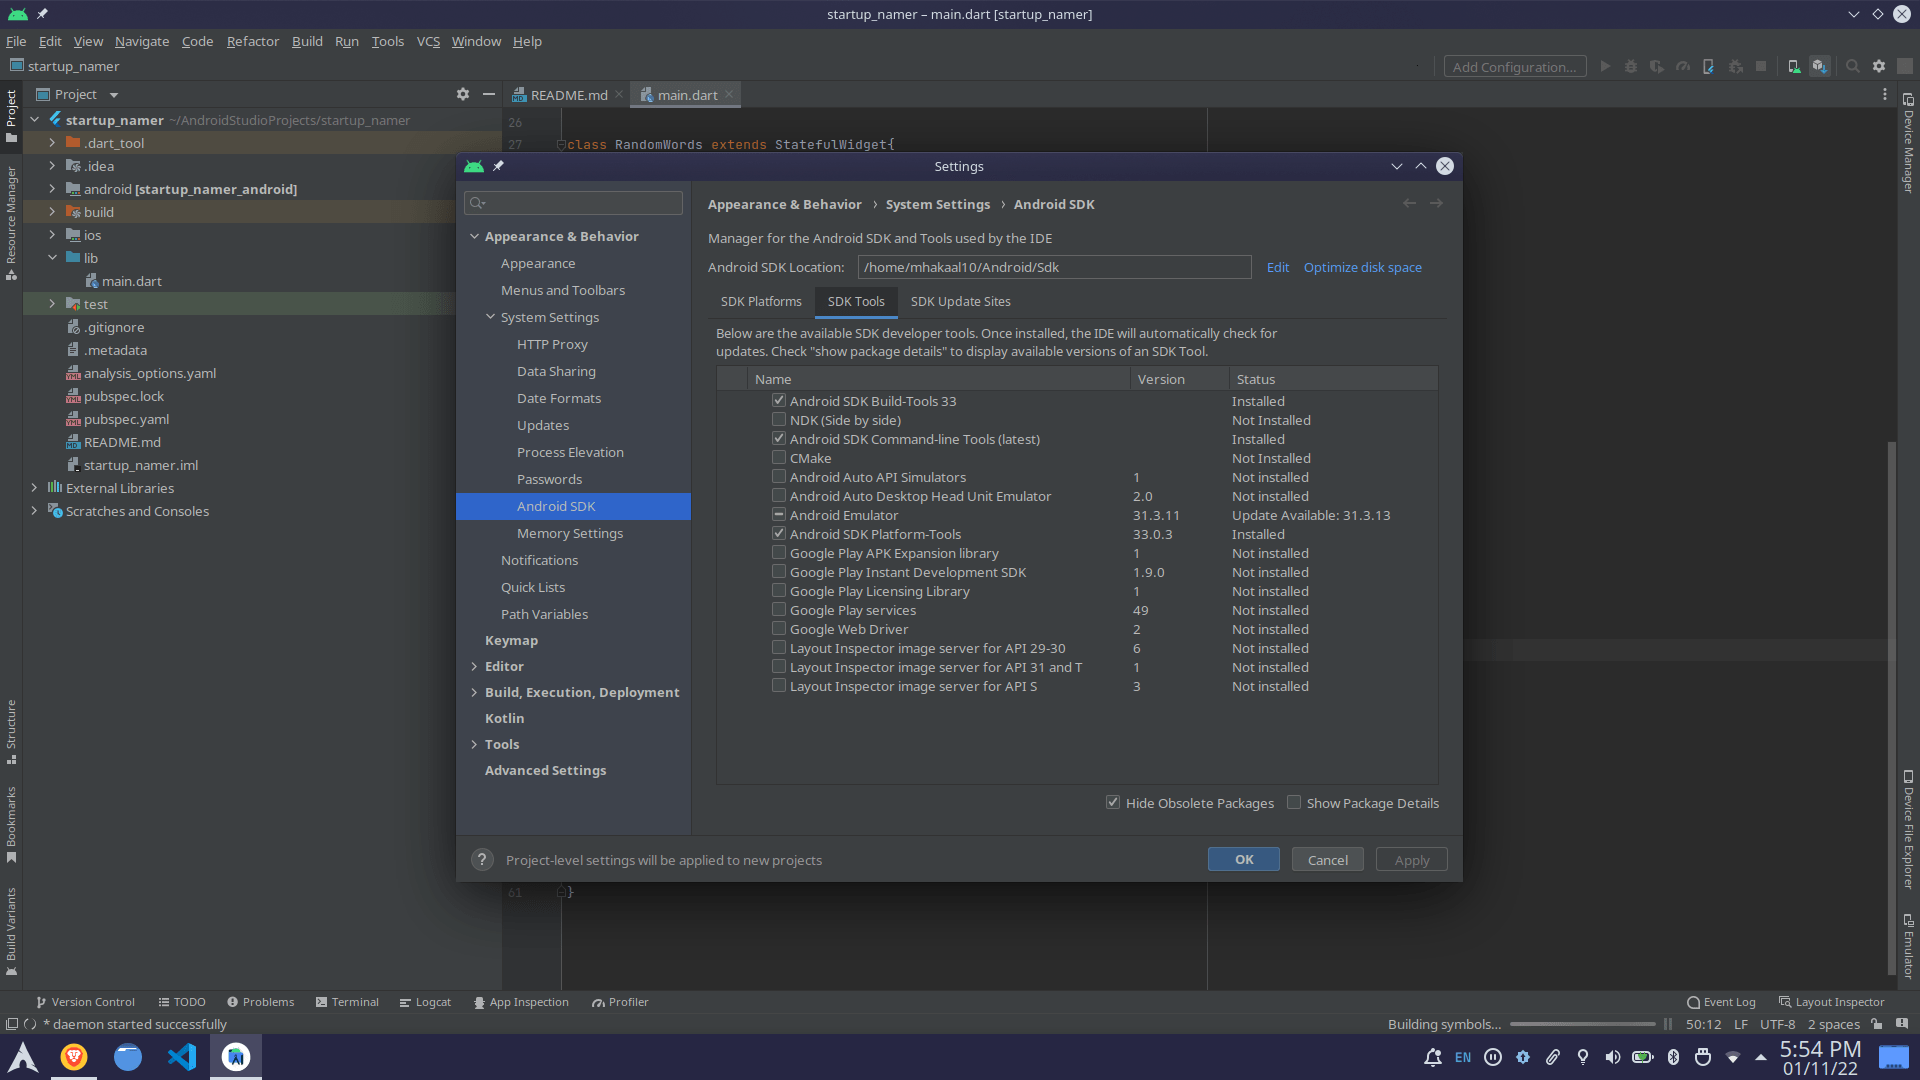
From here find the missing dependency and install it.
Flutter run error: You have not accepted the license agreements
To accept the license and go ahead open the terminal and run the cmd
$ flutter doctor --android-licensed
Now, after resolving the error run again “flutter doctor” to check for further issues.
If you still facing issues I suggest you try to find that issue on StackOverflow and resolve it.
#5. Installing the required plugins in android studio
These plugins give you run & debug support, syntax highlighting, code completion, widget editing assistance, and more.
To install plugins go to settings by ‘Ctrl+Alt+S’ or Menu> File > Settings.
In the setting open the plugin sections.
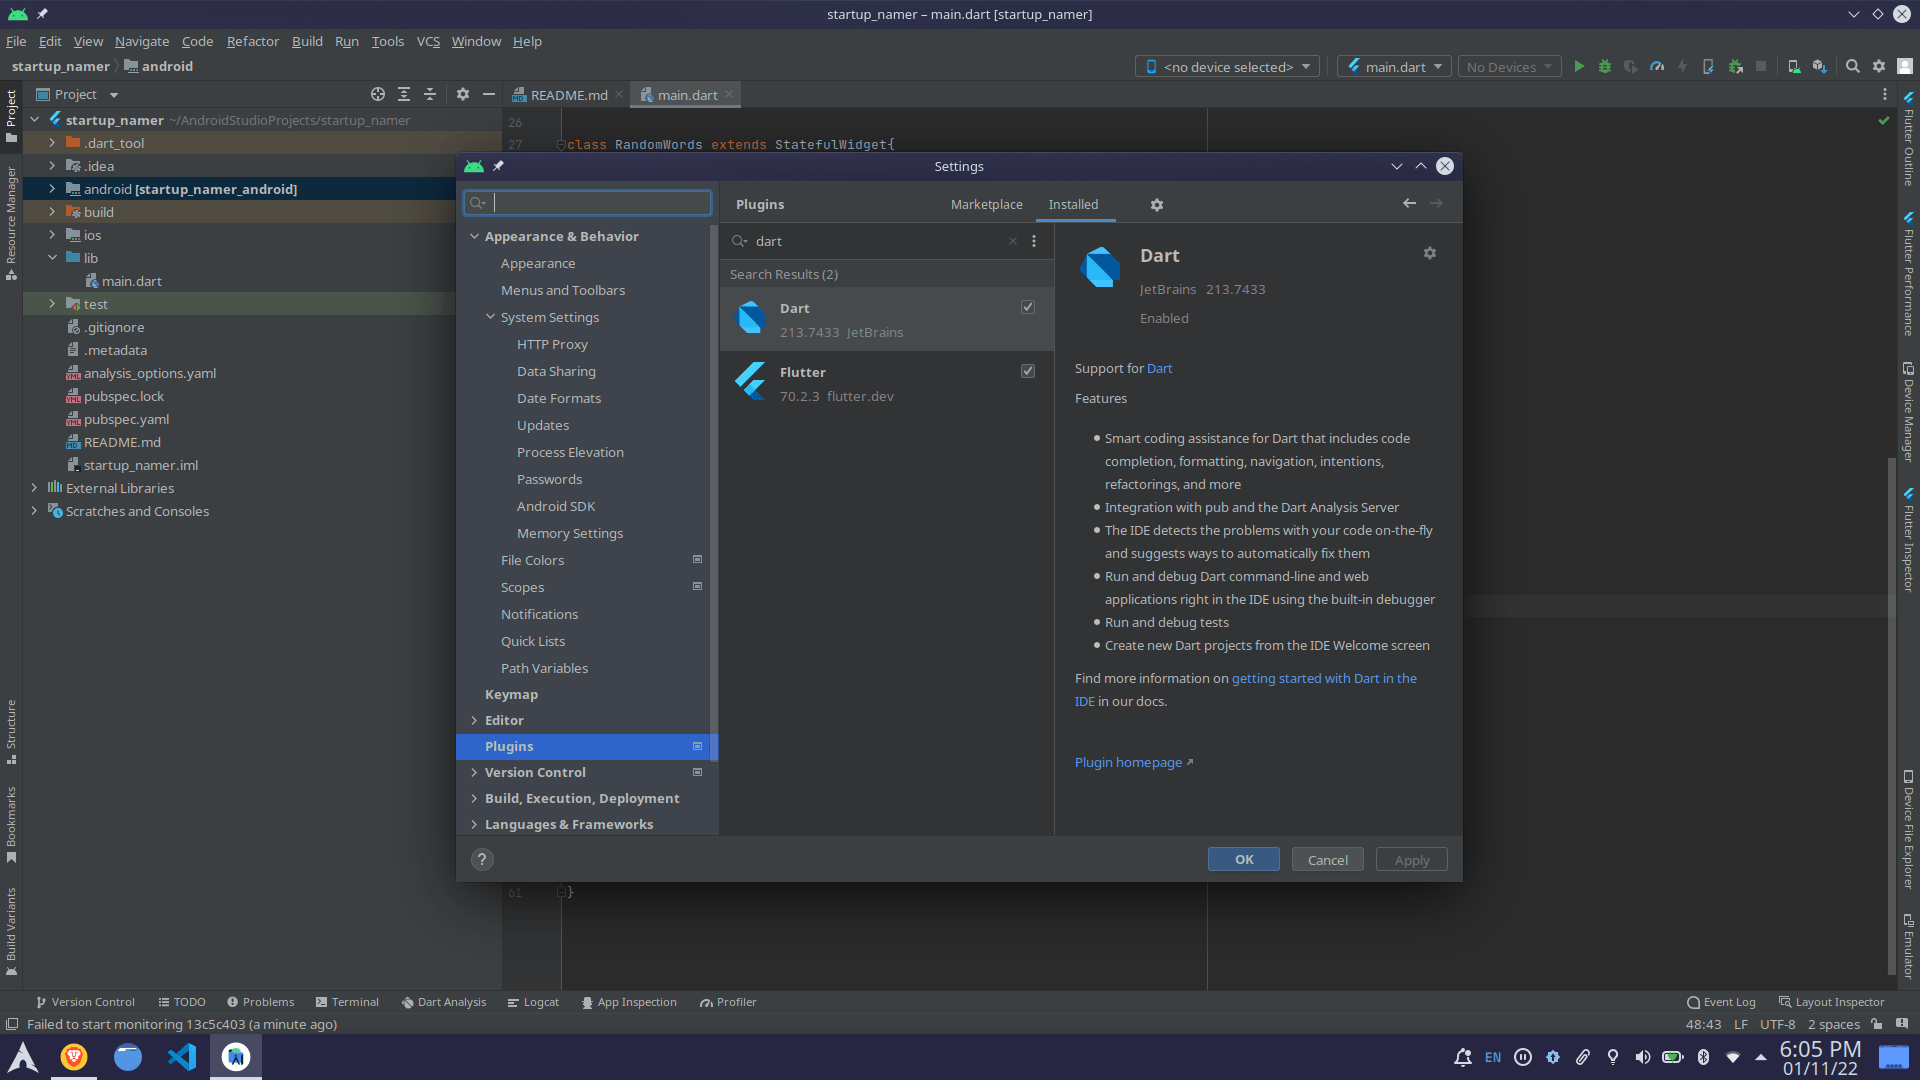
You need to install two plugins and search for them in the marketplace
flutter
dart
Once installed restart the IDE and you are good to go.